A general overview of the setup and initial testing process involved in using a Shapeoko 2 desktop CNC machine.
INTRO
This past summer I was lucky to be able to take some time off from work and head out to San Francisco to attend the 2014 MakerFaire.

It was an interesting experience, to say the least. I hadn’t known just how much falls under the “Maker” umbrella—there was everything there from custom Batmobile builders to blacksmithing guilds, small startups and individual products all the way up to corporate exhibits.
I spent most of my time in the CNC warehouse, which is exactly what it sounds like. About a quarter of a massive hangar-sized exposition arena was dedicated to booths upon booths of groups and companies from all across the CNC spectrum.
I had a fair amount of experience with all different kinds of CNC machines (3D printers, laser cutters, plasma cutters, you name it) in the past, but it was never anything more than following rigid directions using somebody else’s machine. I had never set one up before, and I didn’t really know how they worked or how to make them work. There’s only so much you can be taught about CNC—the rest comes from individual trial and error, learning the ins and outs of the technology by putting it together and getting it to run yourself. Inspired by the amazing exhibits at the MakerFaire, I decided it was time for me to take the plunge.
A few weeks later, my Shapeoko 2 mechanical kit arrived at the post office.
SETUP
Man, does this thing come in a lot of separate little plastic baggies.
Putting it together was reminiscent of assembling a huge Lego set. The sheer number and variety of the pieces can be somewhat intimidating at first, but I found that once you get started it’s a pretty smooth process. The instructions are posted in various forms online, and the Shapeoko forums are extremely active and teeming with assembly tips/troubleshooting help.
I’ve been blown away by scale and liveliness of the online community surrounding the open source CNC movement. If you’re running into an issue, odds are somebody else has encountered the same problem and put up a detailed explanation of how to fix it somewhere online. On the off-chance you can’t find and answer (which I’ve learned probably means you didn’t search thoroughly enough), you can make a post reaching out to thousands of other users and most likely get an answer in the same day.
About the machine itself: there’s no denying that Inventables ships a quality product. Handling the powder coated steel end plates, the MakerSlide rail extrusions, the uniform machine screws, and all of the other parts that it comes with, it’s clear that, when put together properly, this machine will last for a long time.
All in all, the setup period entailed about a week’s worth of assembly for a few hours each day after work. I came across this video from the YouTube channel I Like to Make Stuff that sums up my thoughts on the setup of the machine quite nicely.
A basic knowledge of electronics and manufacturing (how to solder, tapping screwholes, etc.) are probably required in order to get through the process without any hiccups, but don’t be dissuaded if you’ve never done anything of the sort before: if you’re willing to devote time to reading through the Wiki and forums I’m confident anybody (given the proper set of tools) could put this together, regardless of background. You just have to approach it with patience, and acknowledge that you won’t find a comprehensive step-by-step walkthrough in one place.
These projects are all about patching together solutions that work for you and your situation, and getting a Shapeoko up and running is no different. The setup and maintenance is a large part of machine ownership—piecing together bits of information and advice from different sources to get a functional CNC machine at the end of the day leaves you with a sense of satisfaction that you just don’t get from a turnkey, plug-and-play kit.
OVERVIEW
Here is a basic overview of my current setup, with a few comments along the way:
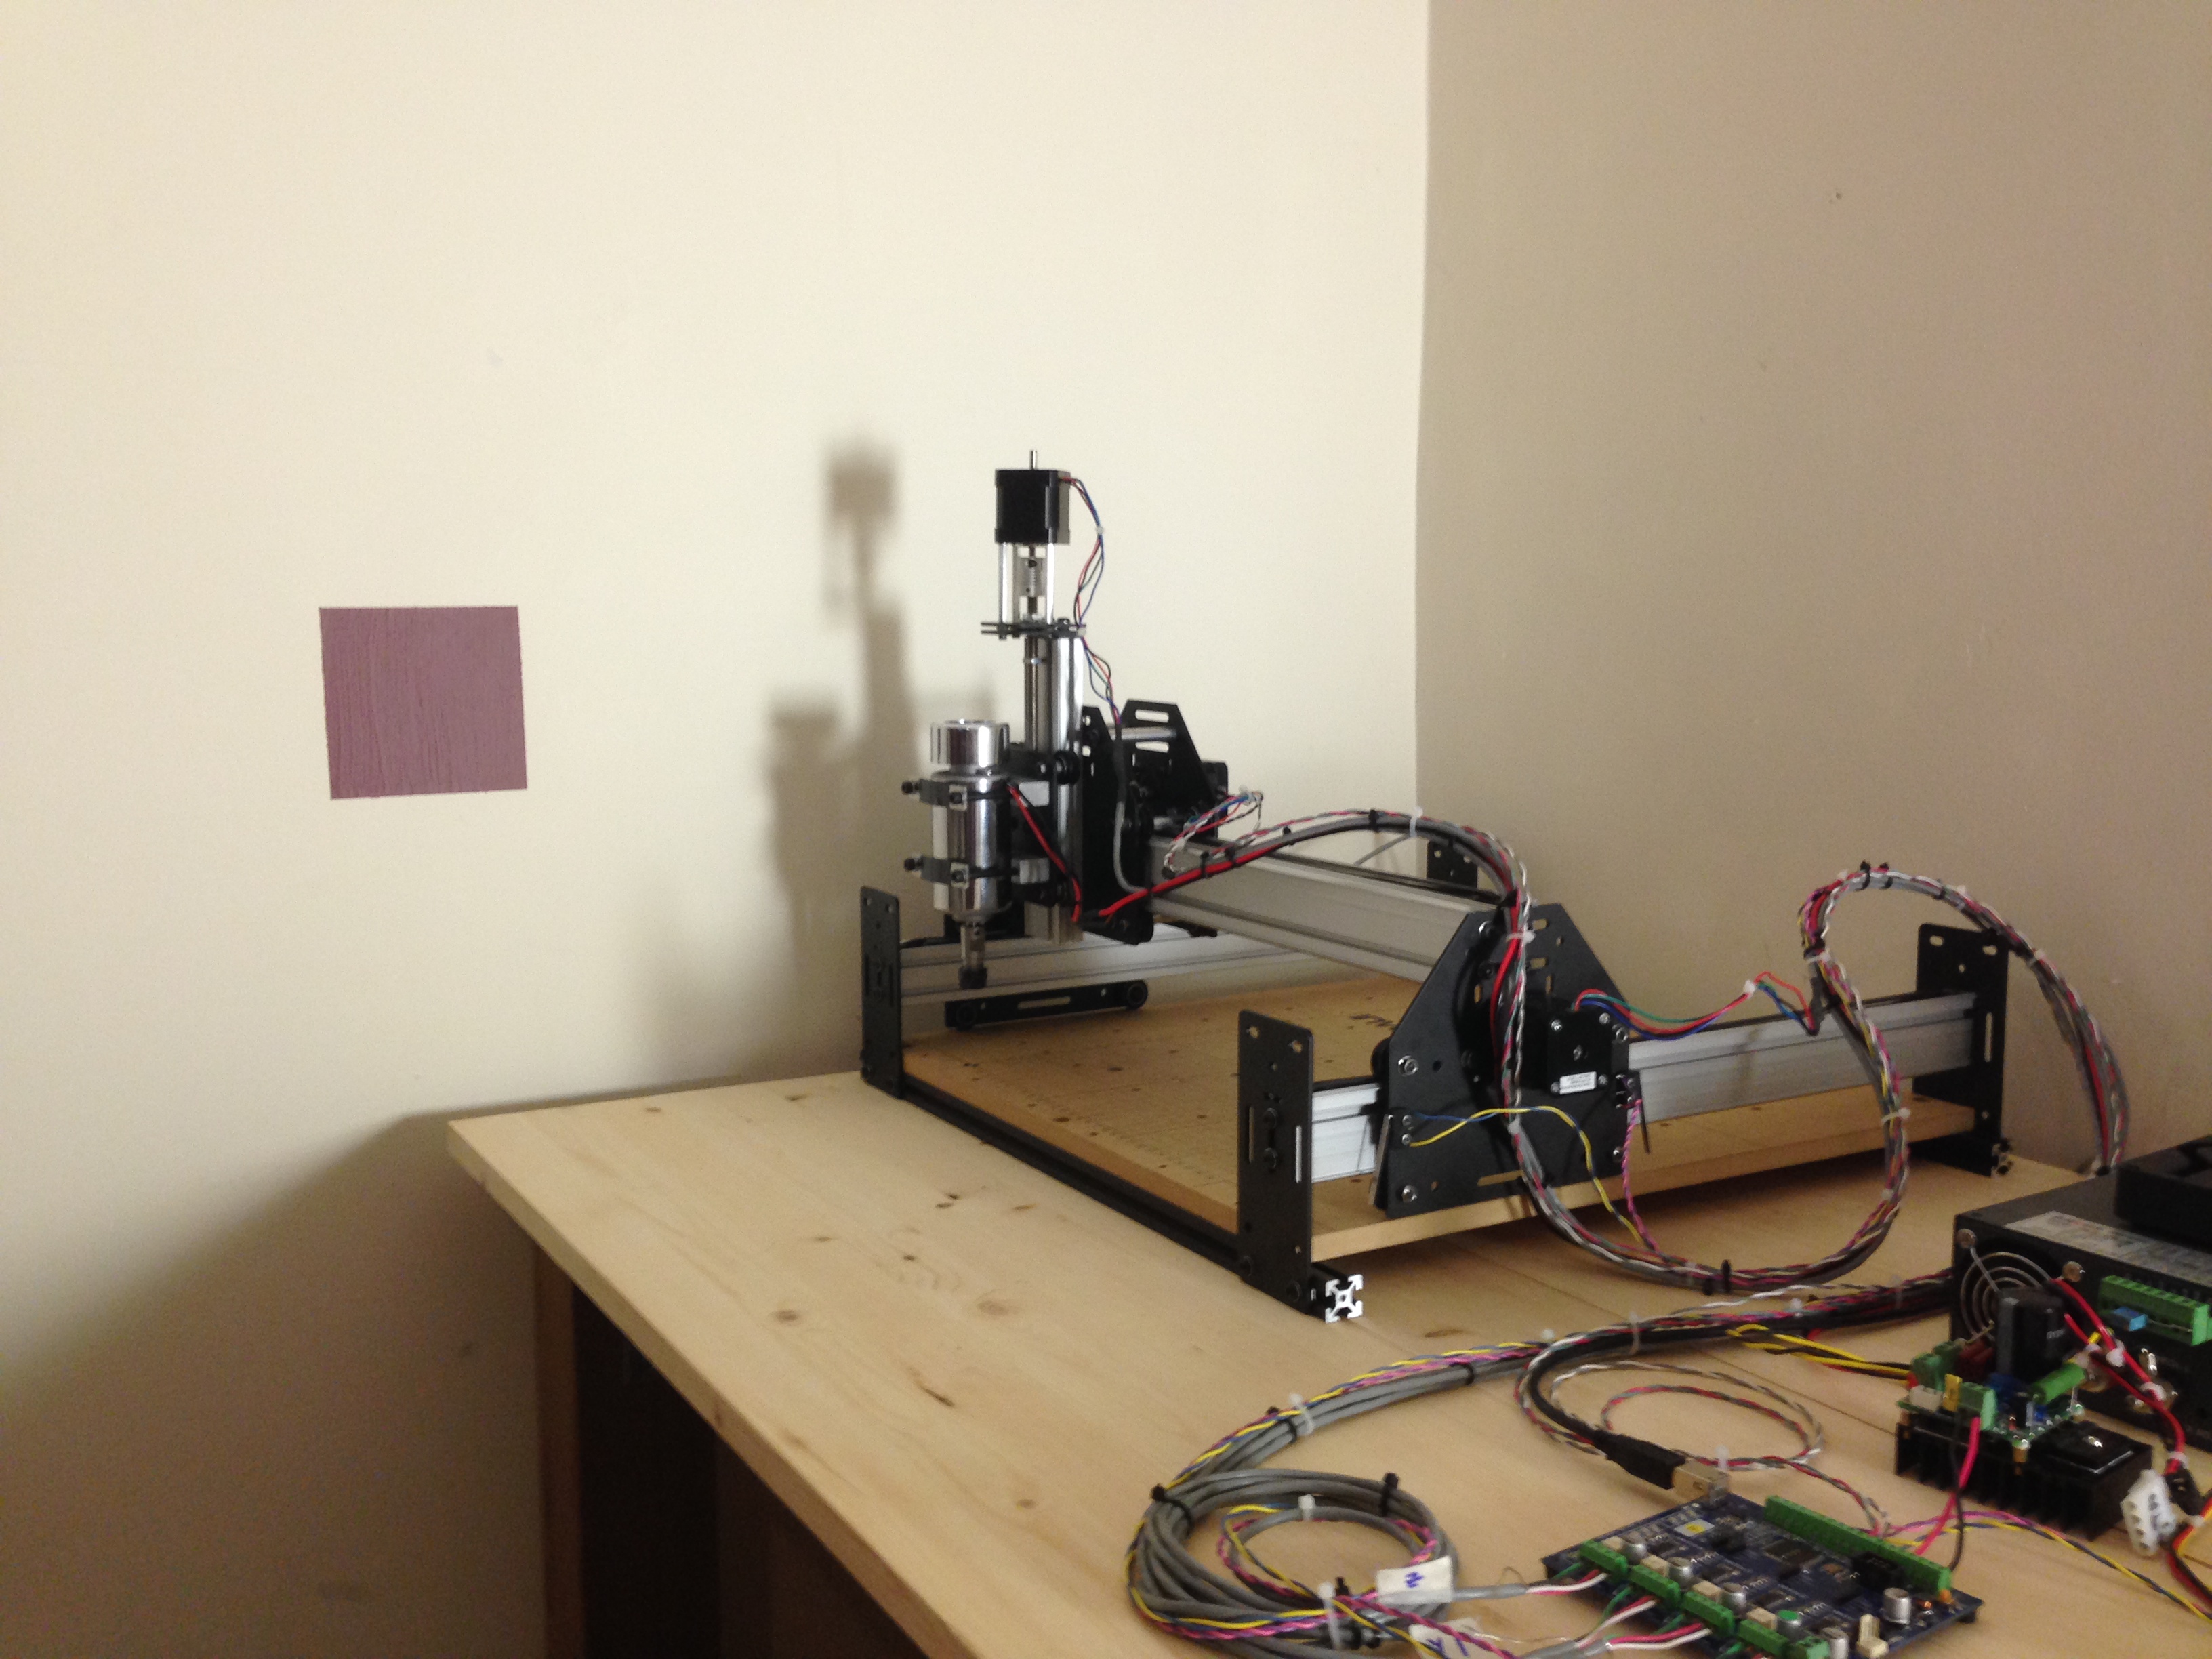
- Name: Shapeoko 2 Desktop CNC Milling Machine
- Work area: roughly 290mm x 290mm x 75mm
- Drive: 4 x NEMA 17 Stepper Motors (dual Y-Axis drive)
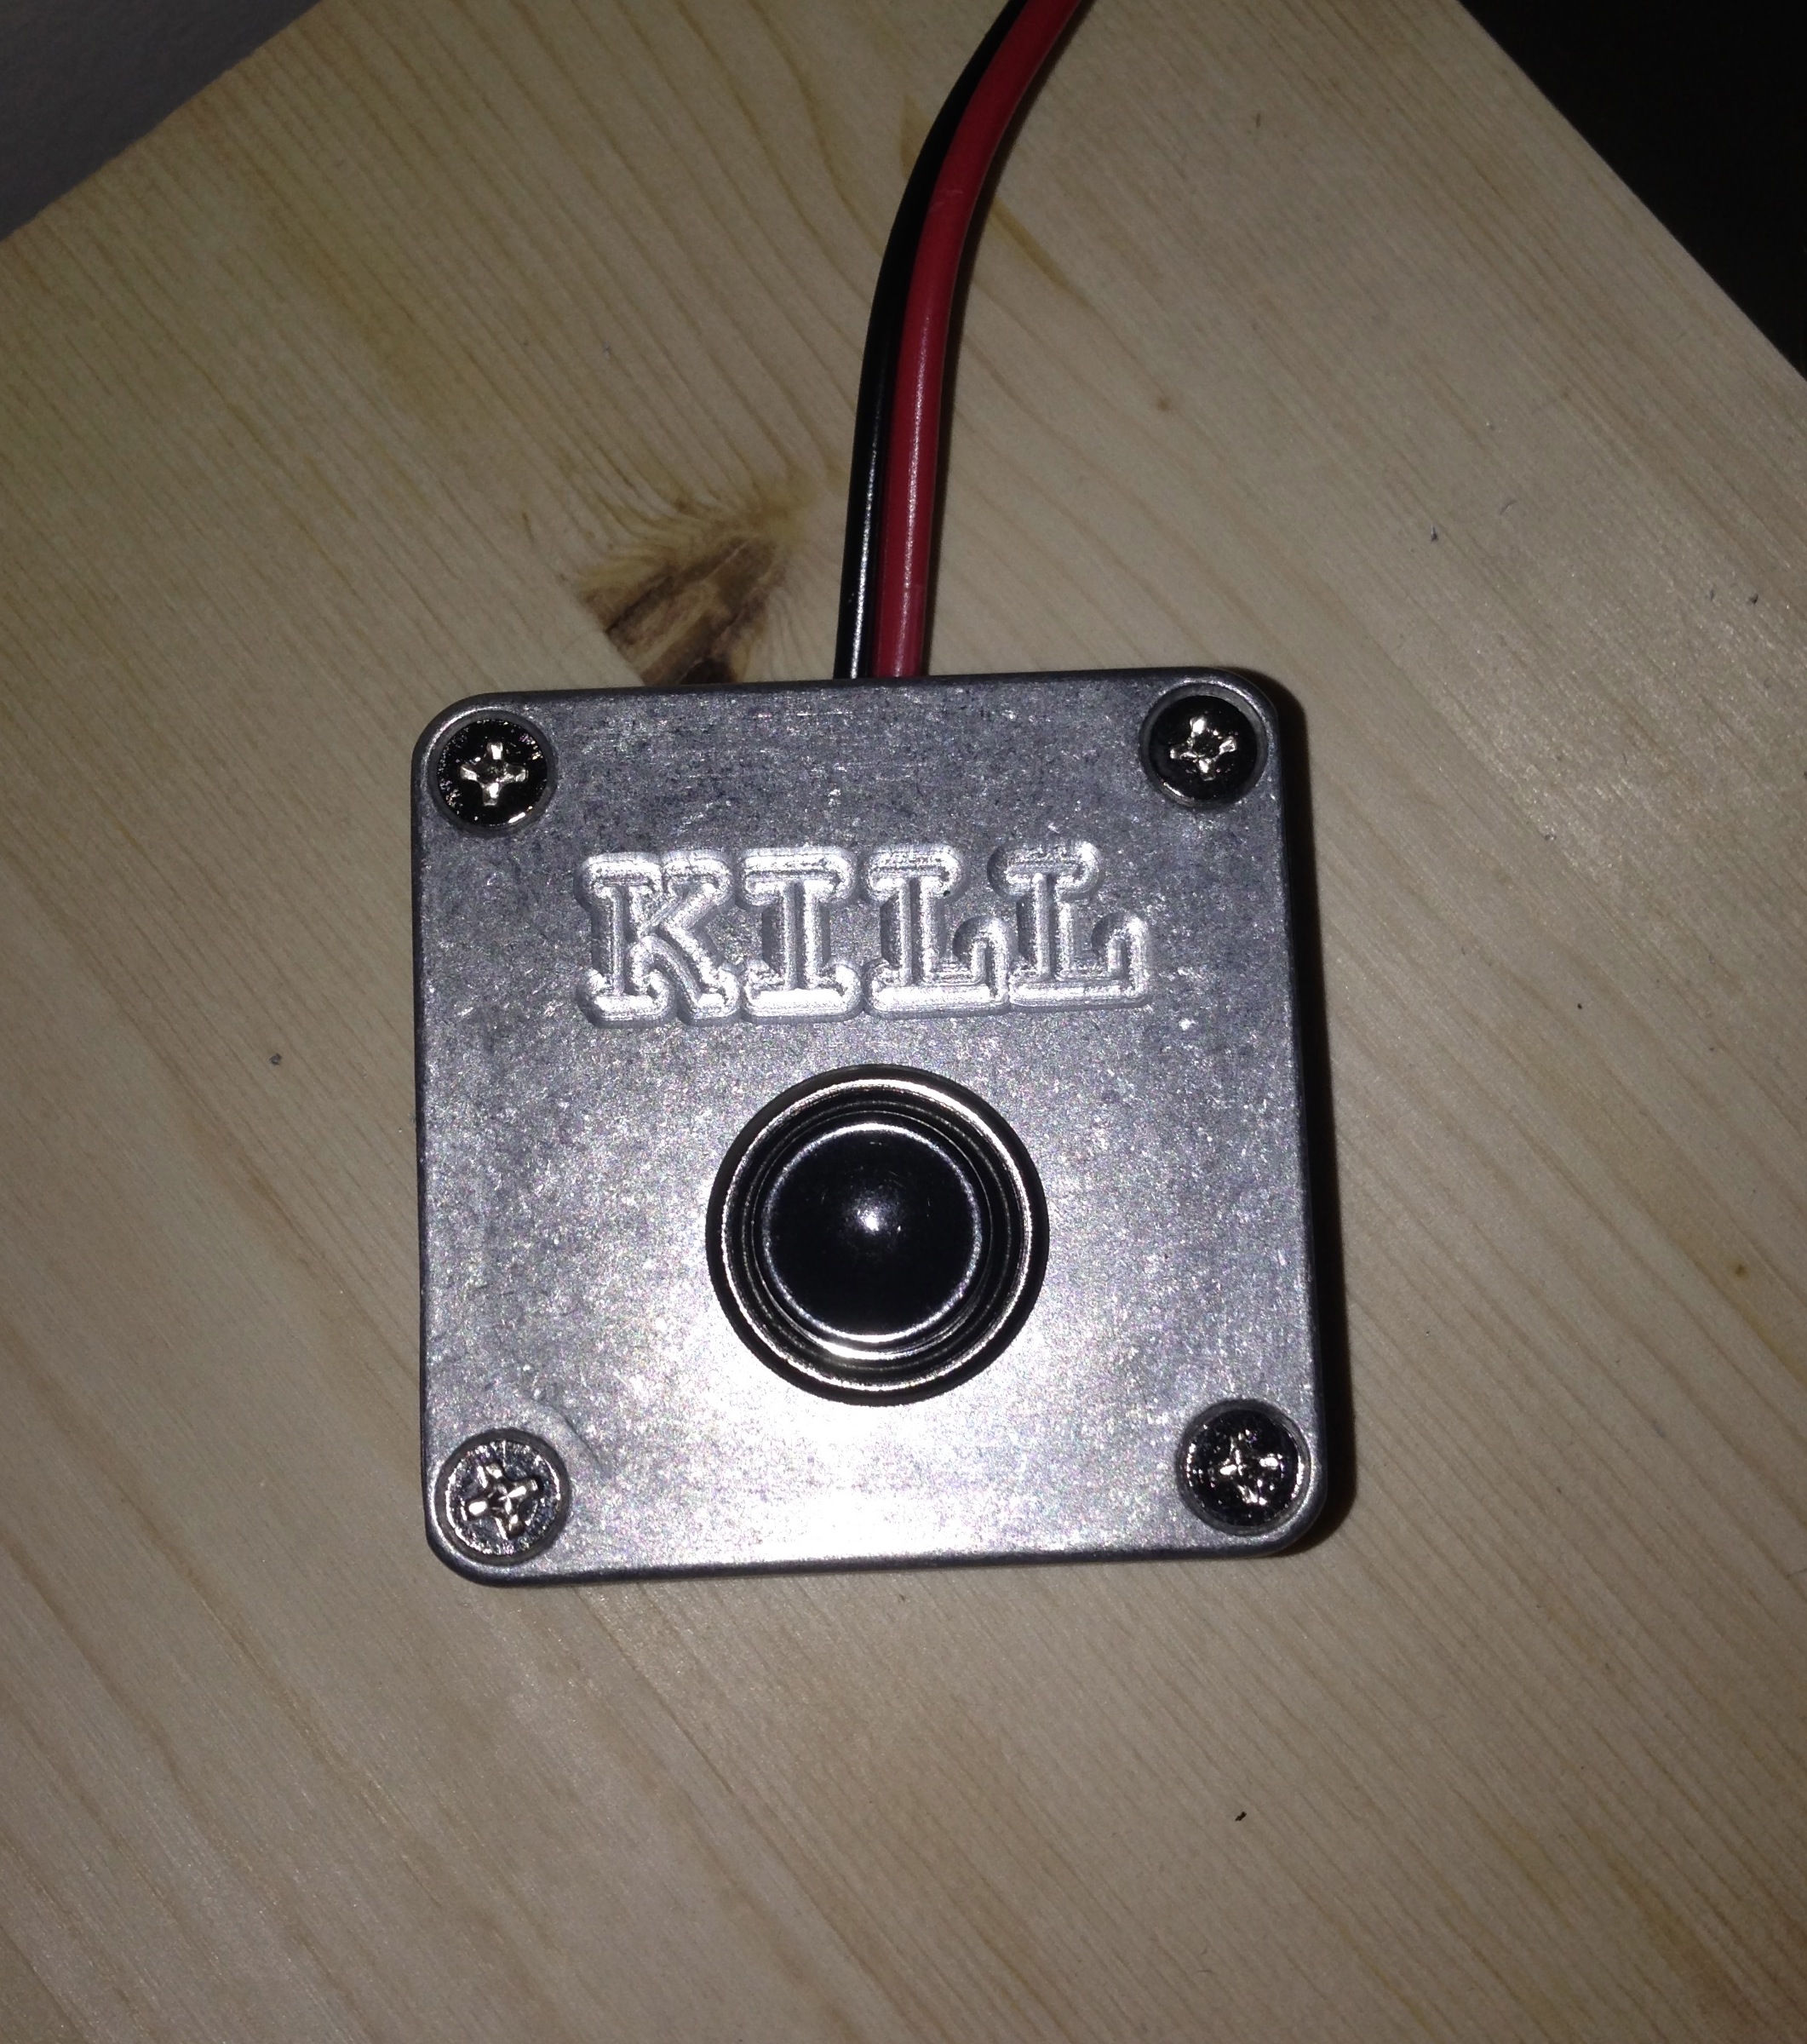
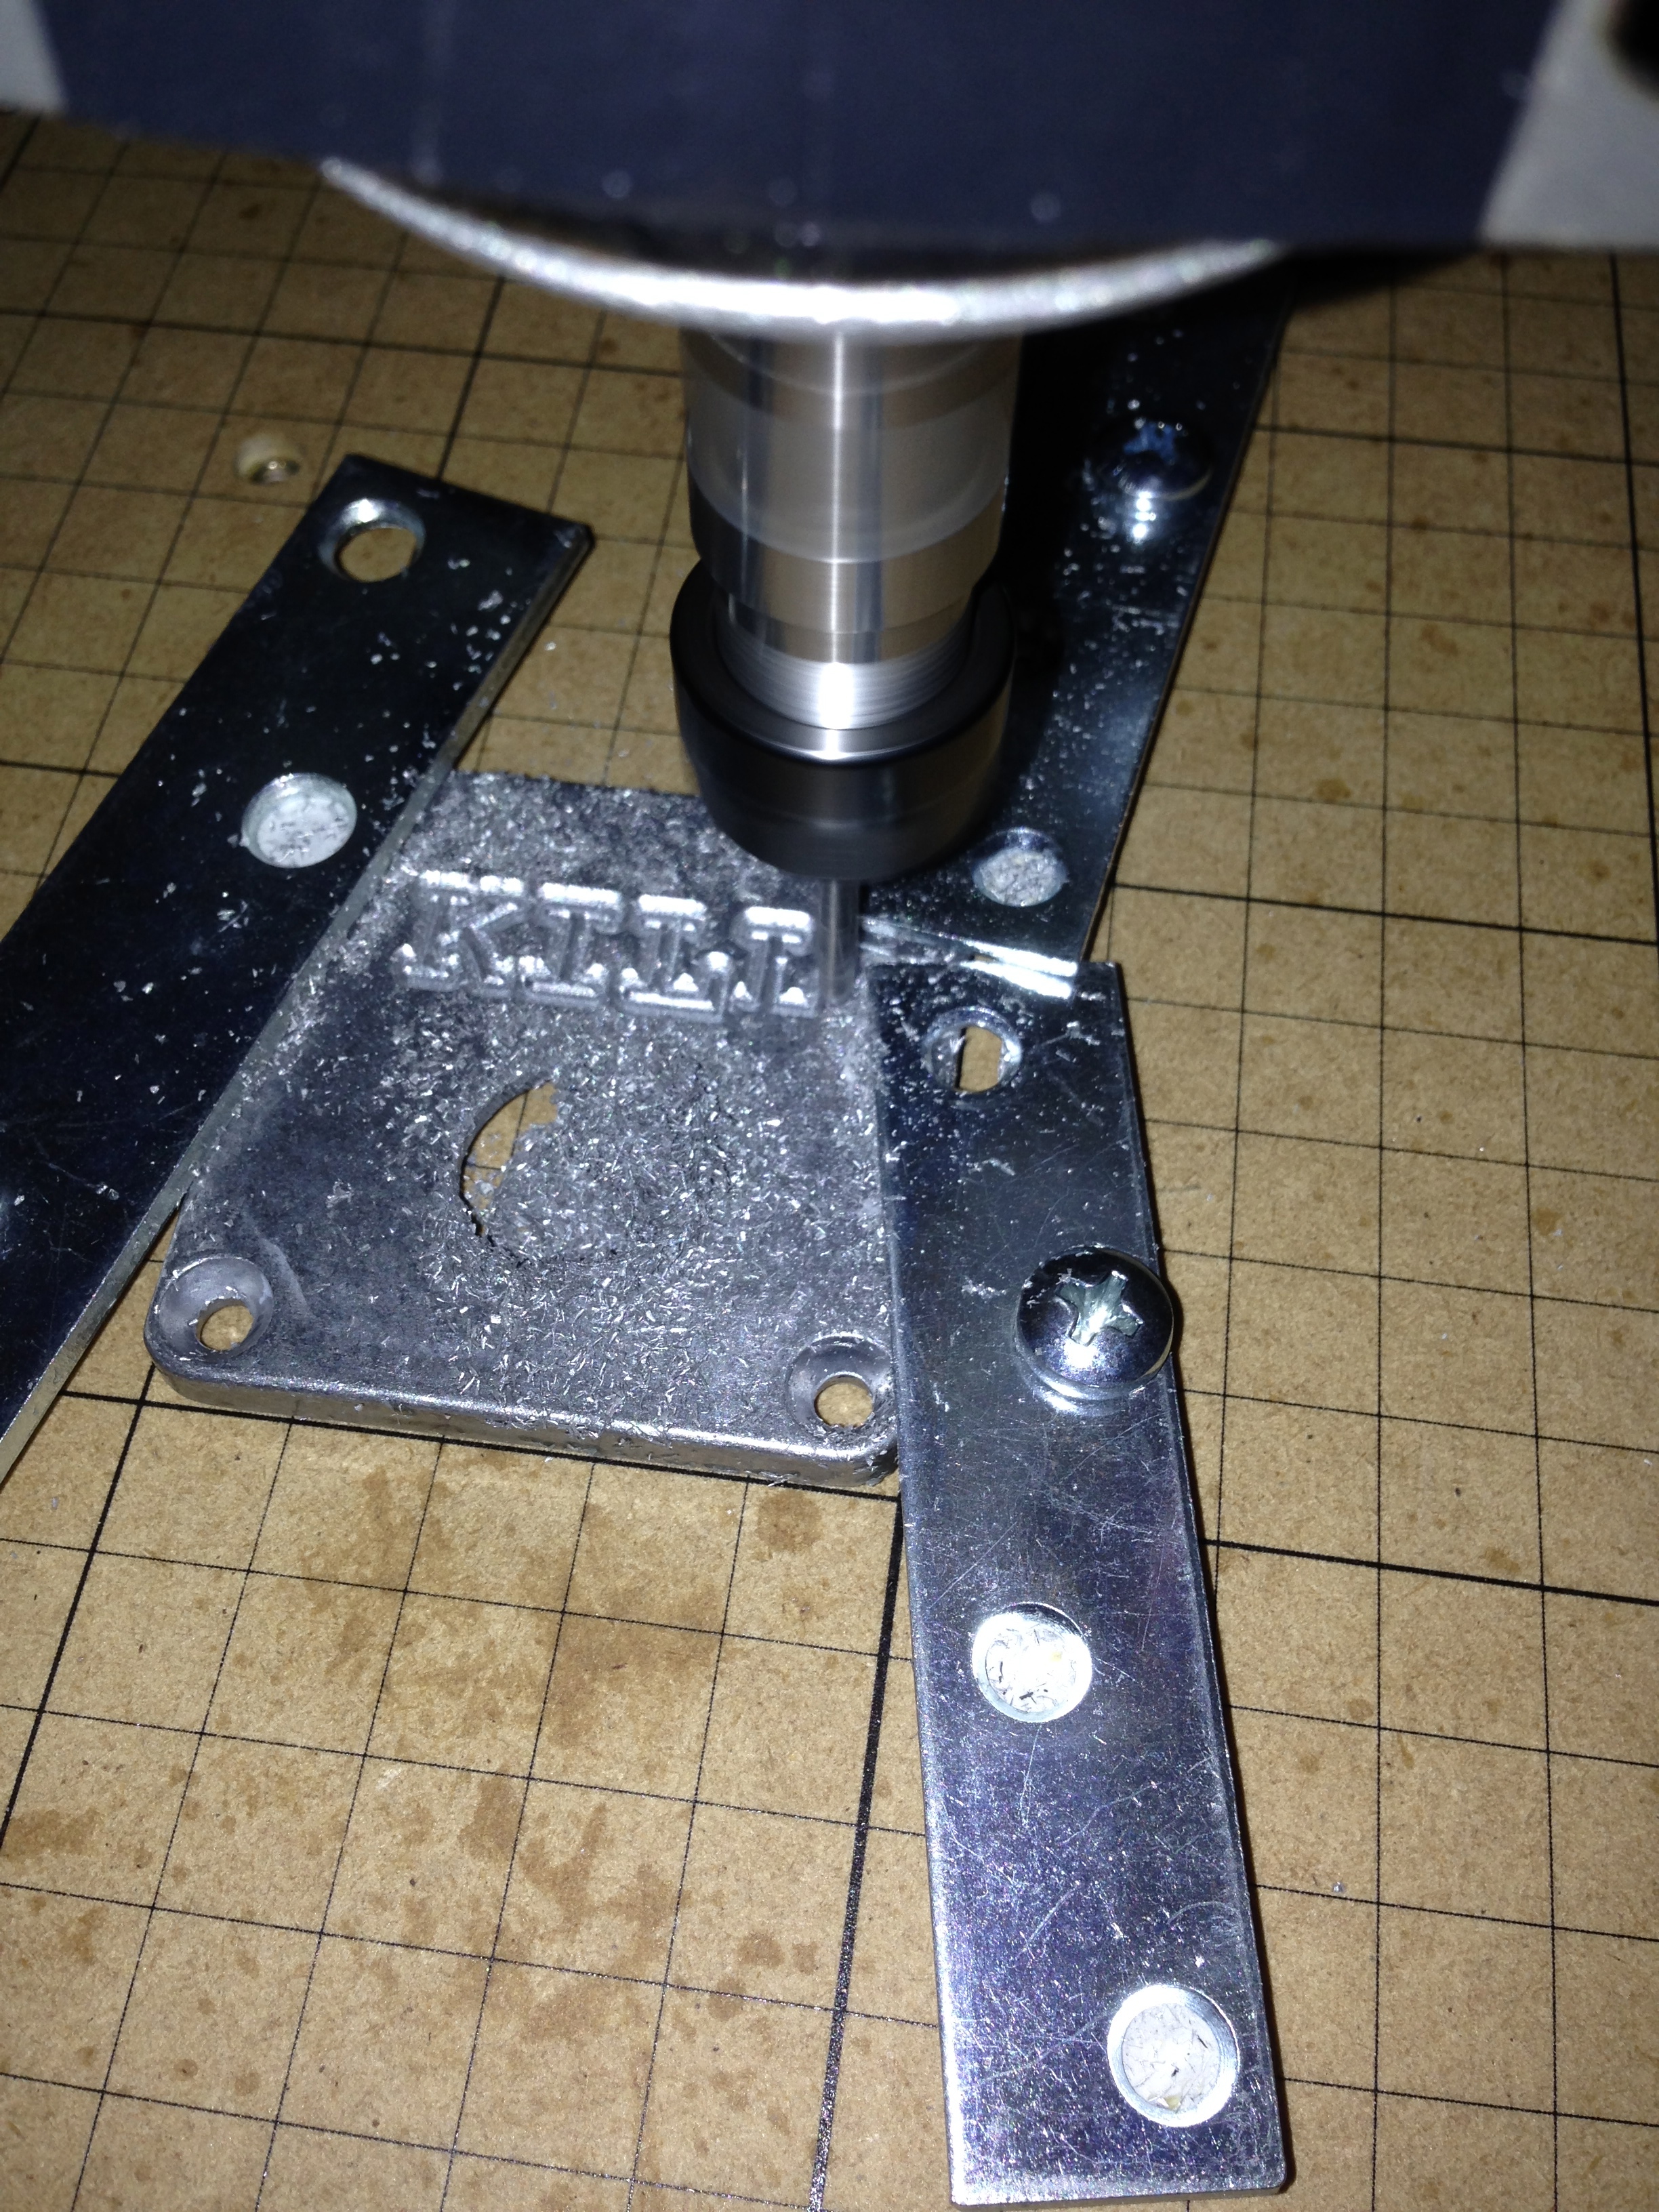
- Spindle: Inventables 48V DC Quiet-Cut Spindle
- A bit more expensive than an off-brand dremel tool, but it makes up for the price different by greatly reducing the noise of a cut. It’s really quiet—even at high speeds it barely makes a sound. Its 48V DC power supply makes more noise. I’ve found it to be satisfactory for most applications, though the stock mounting kit leaves something to be desired.
- Motor Controller: Synthetos TinyG v8
- While the stock grblSheild motor driver works fine, switching over to the smoother, more powerful, and standalone (no Arduino) TinyG driver board was a no brainer for me. It utilizes advanced motion control algorithms to control the jerk (3rd derivative of position) of the toolhead, resulting in the extremely fluid and natural motion.

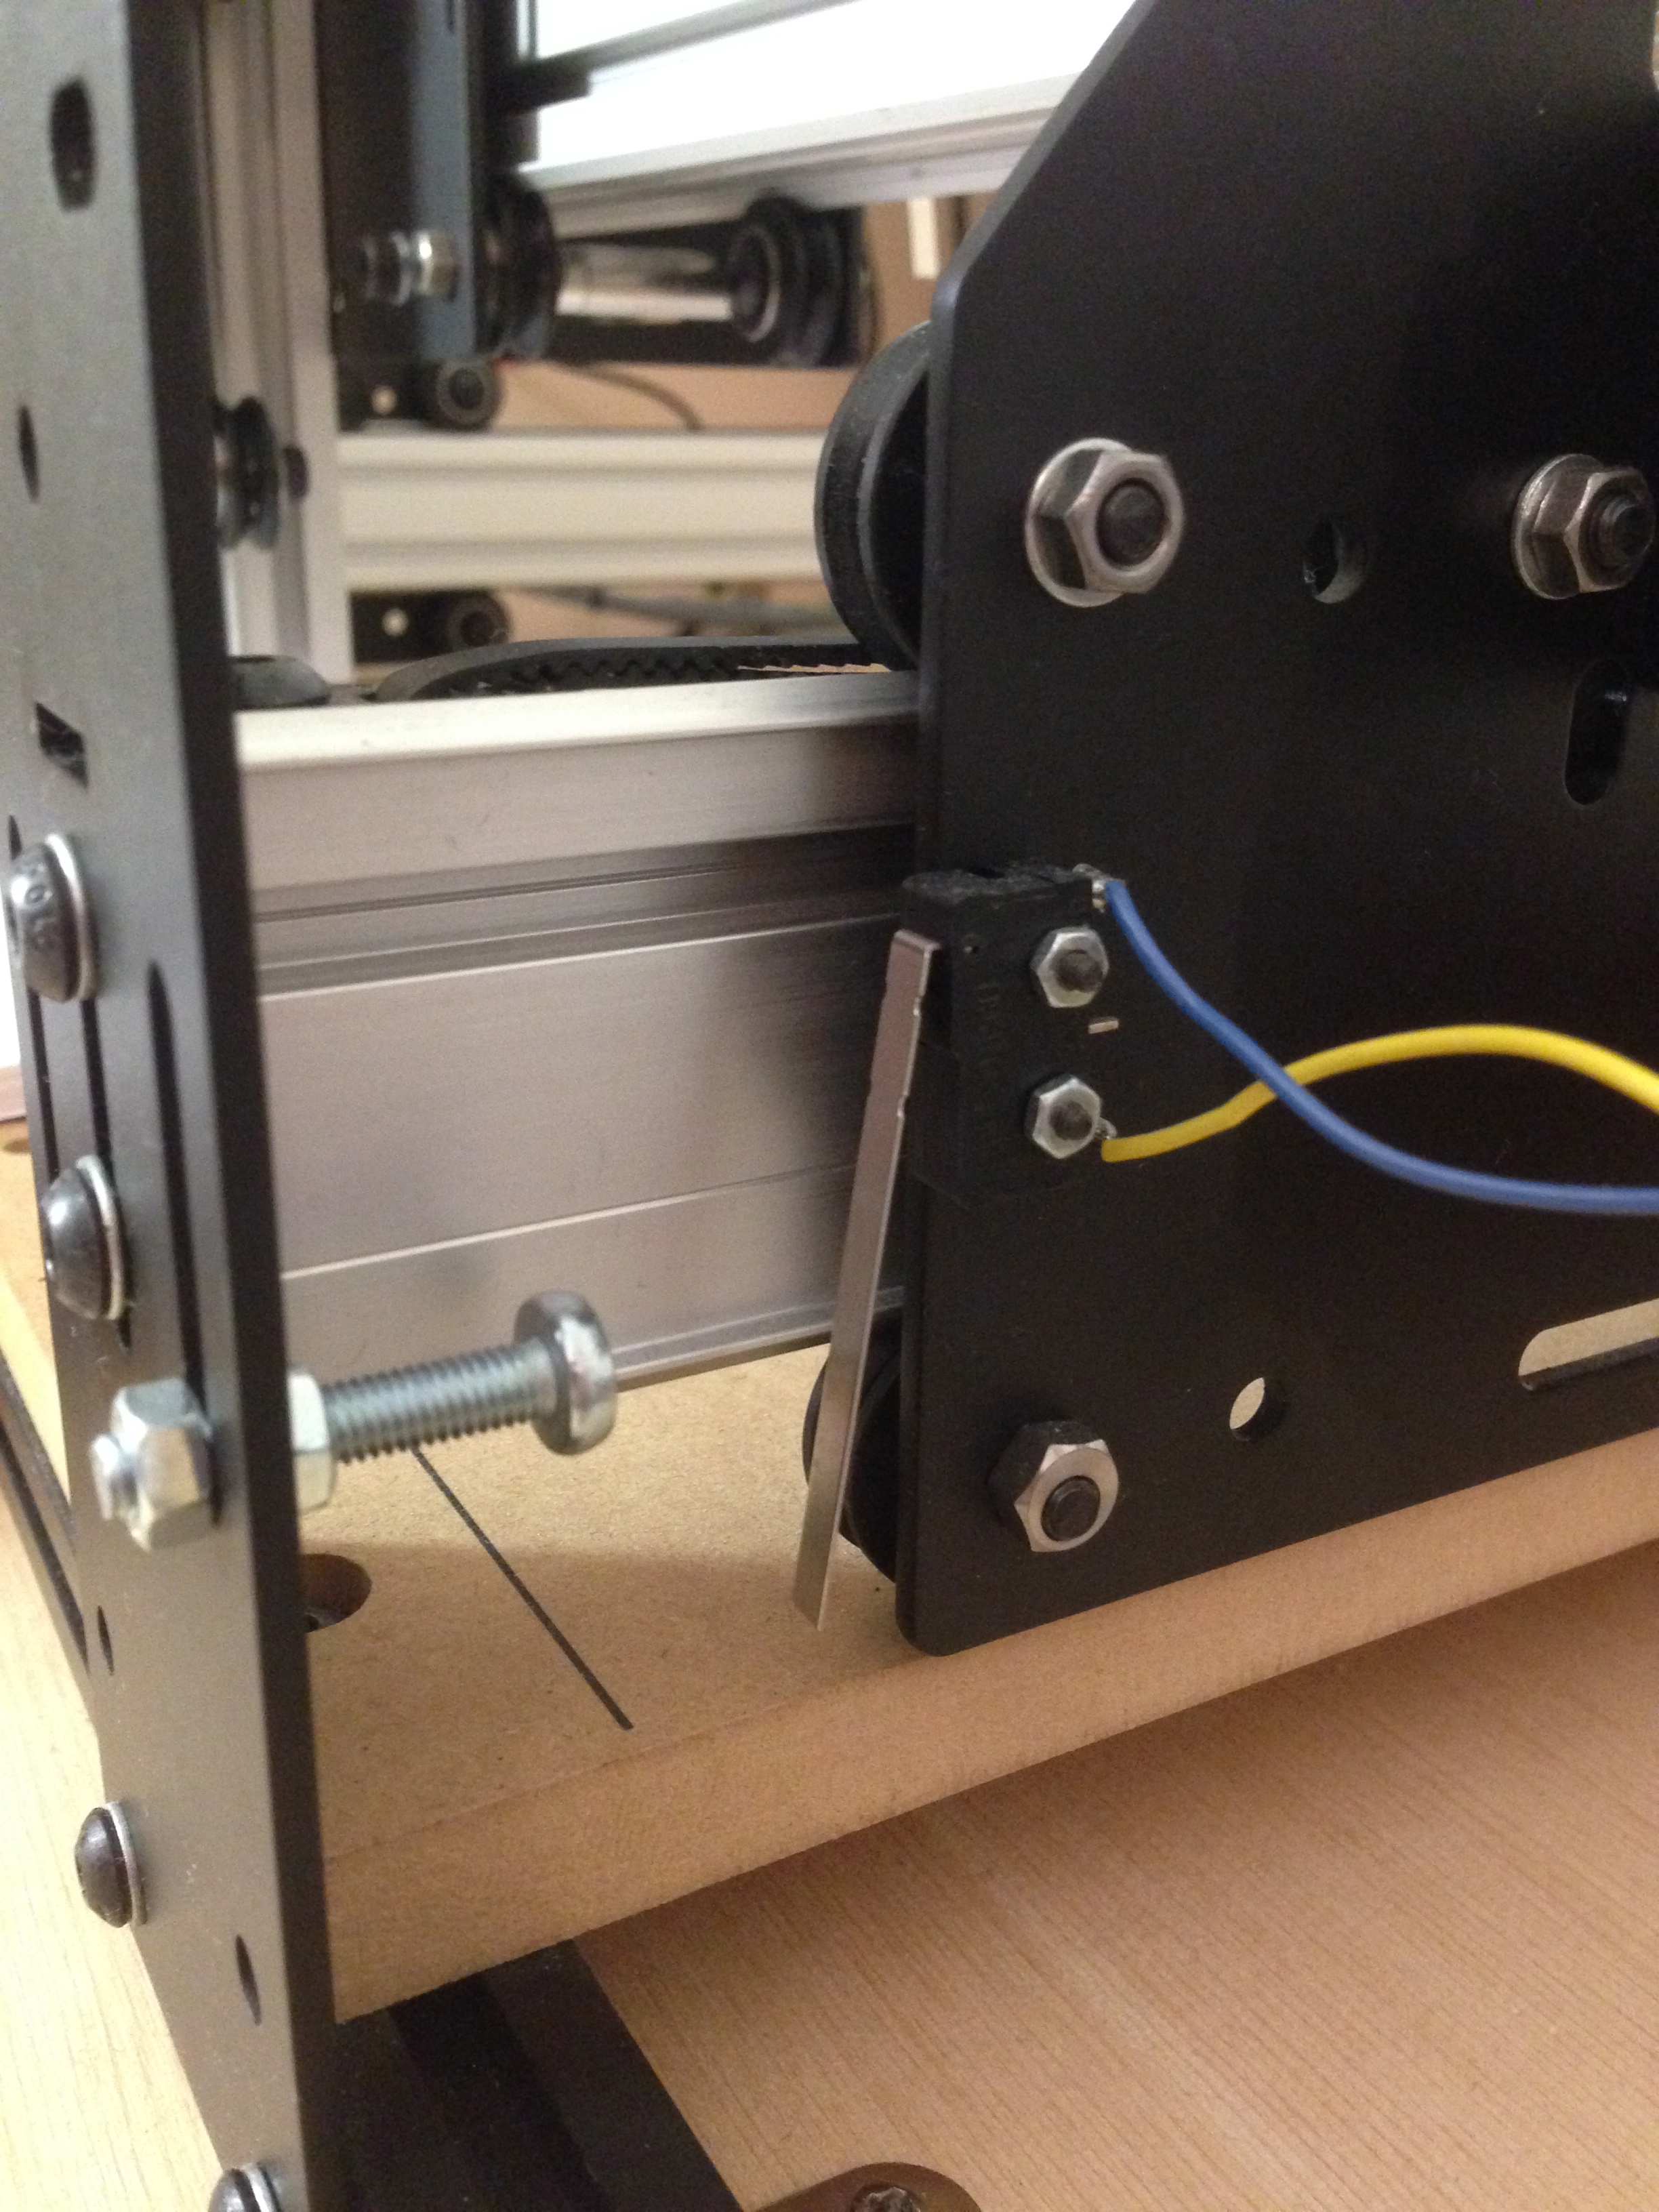
Limit switch setup is really that easy. - TinyG supports limit/homing switches. They’re easy to set up—find some switches and a bit of wire and you can bolt them right on to the motor carriages. Hitting a limit switch during a job will suspend the job and most likely ruin it, but it’s a hell of a lot better than having it smash into the end plates and stall the motors.
- Homing is another cool feature: a simple homing command sends the machine looking for the zero position, and can be very helpful if you need to get a cut in an exact position on the material.
- Driver Software: CoolTerm
- It’s not pretty but it gets the job done. It was the easiest program to get the machine up and running with, and suits most of my needs for now.
- CoolTerm doesn’t handle big files well. Aborting a job (resetting the motor controller, hitting a limit switch, etc.) midway through can cause the program to seize up, and I often have to force quit my way out of it.
- Better alternatives exist for serial port communications, and I’ll most likely be moving over to the web-based ChiliPeppr in the near future.
The only pieces of this setup that aren’t stock are the electronics and toolhead. Aside from that, it’s no different from what you would get new from Inventables today.
TAKEAWAY
The setup was only the start of the adventures taming this beast. It’s pretty amazing that you can get a quality machine for less than a grand—and if you put the time and effort into tuning and maintenance there’s no question that this is a quality machine.
That being said, don’t expect perfect cuts on your first few tries. It takes time to get to know the limits of the hardware and the optimal control settings. I ruined quite a few slabs of perfectly good pine trying to calibrate it, but it’s all just part of the process.
For an entry into the personal CNC world, the Shapeoko 2 is proving to be a good investment. Its room for customization and upgrades really allows you to turn it into whatever kind of tool you want. Though mine is less than 6 months old at this point, I’ve already had a lot of fun with it, all while learning tons about CNC and all that it entails.
I can’t say for sure what projects I’ll use it for in the future, but I can say that it’ll be a mainstay on my workbench for years to come.