
An all-in-one cordless CNC’d computer controller to maximize media consumption efficiency and enjoyability.
INTRO
It’s always nice to be back in the home town between semesters. Northern Virginia and Montreal are very distinct locations, each offers numerous opportunities that the other lacks. In this situation, I have much cleaner and easier access to a machine shop in the states than I do up north—I couldn’t let an opportunity like that slip, now could I?
THE IDEA
I have long been searching for the proper remote control for my computer. All things considered, I probably spend as much time lounging around looking at satellite monitors scattered about than actually sitting at my desk using the built-in display. It’s quite inconvenient to have to get up each time I want to change volume, rewind, switch applications… you get it.
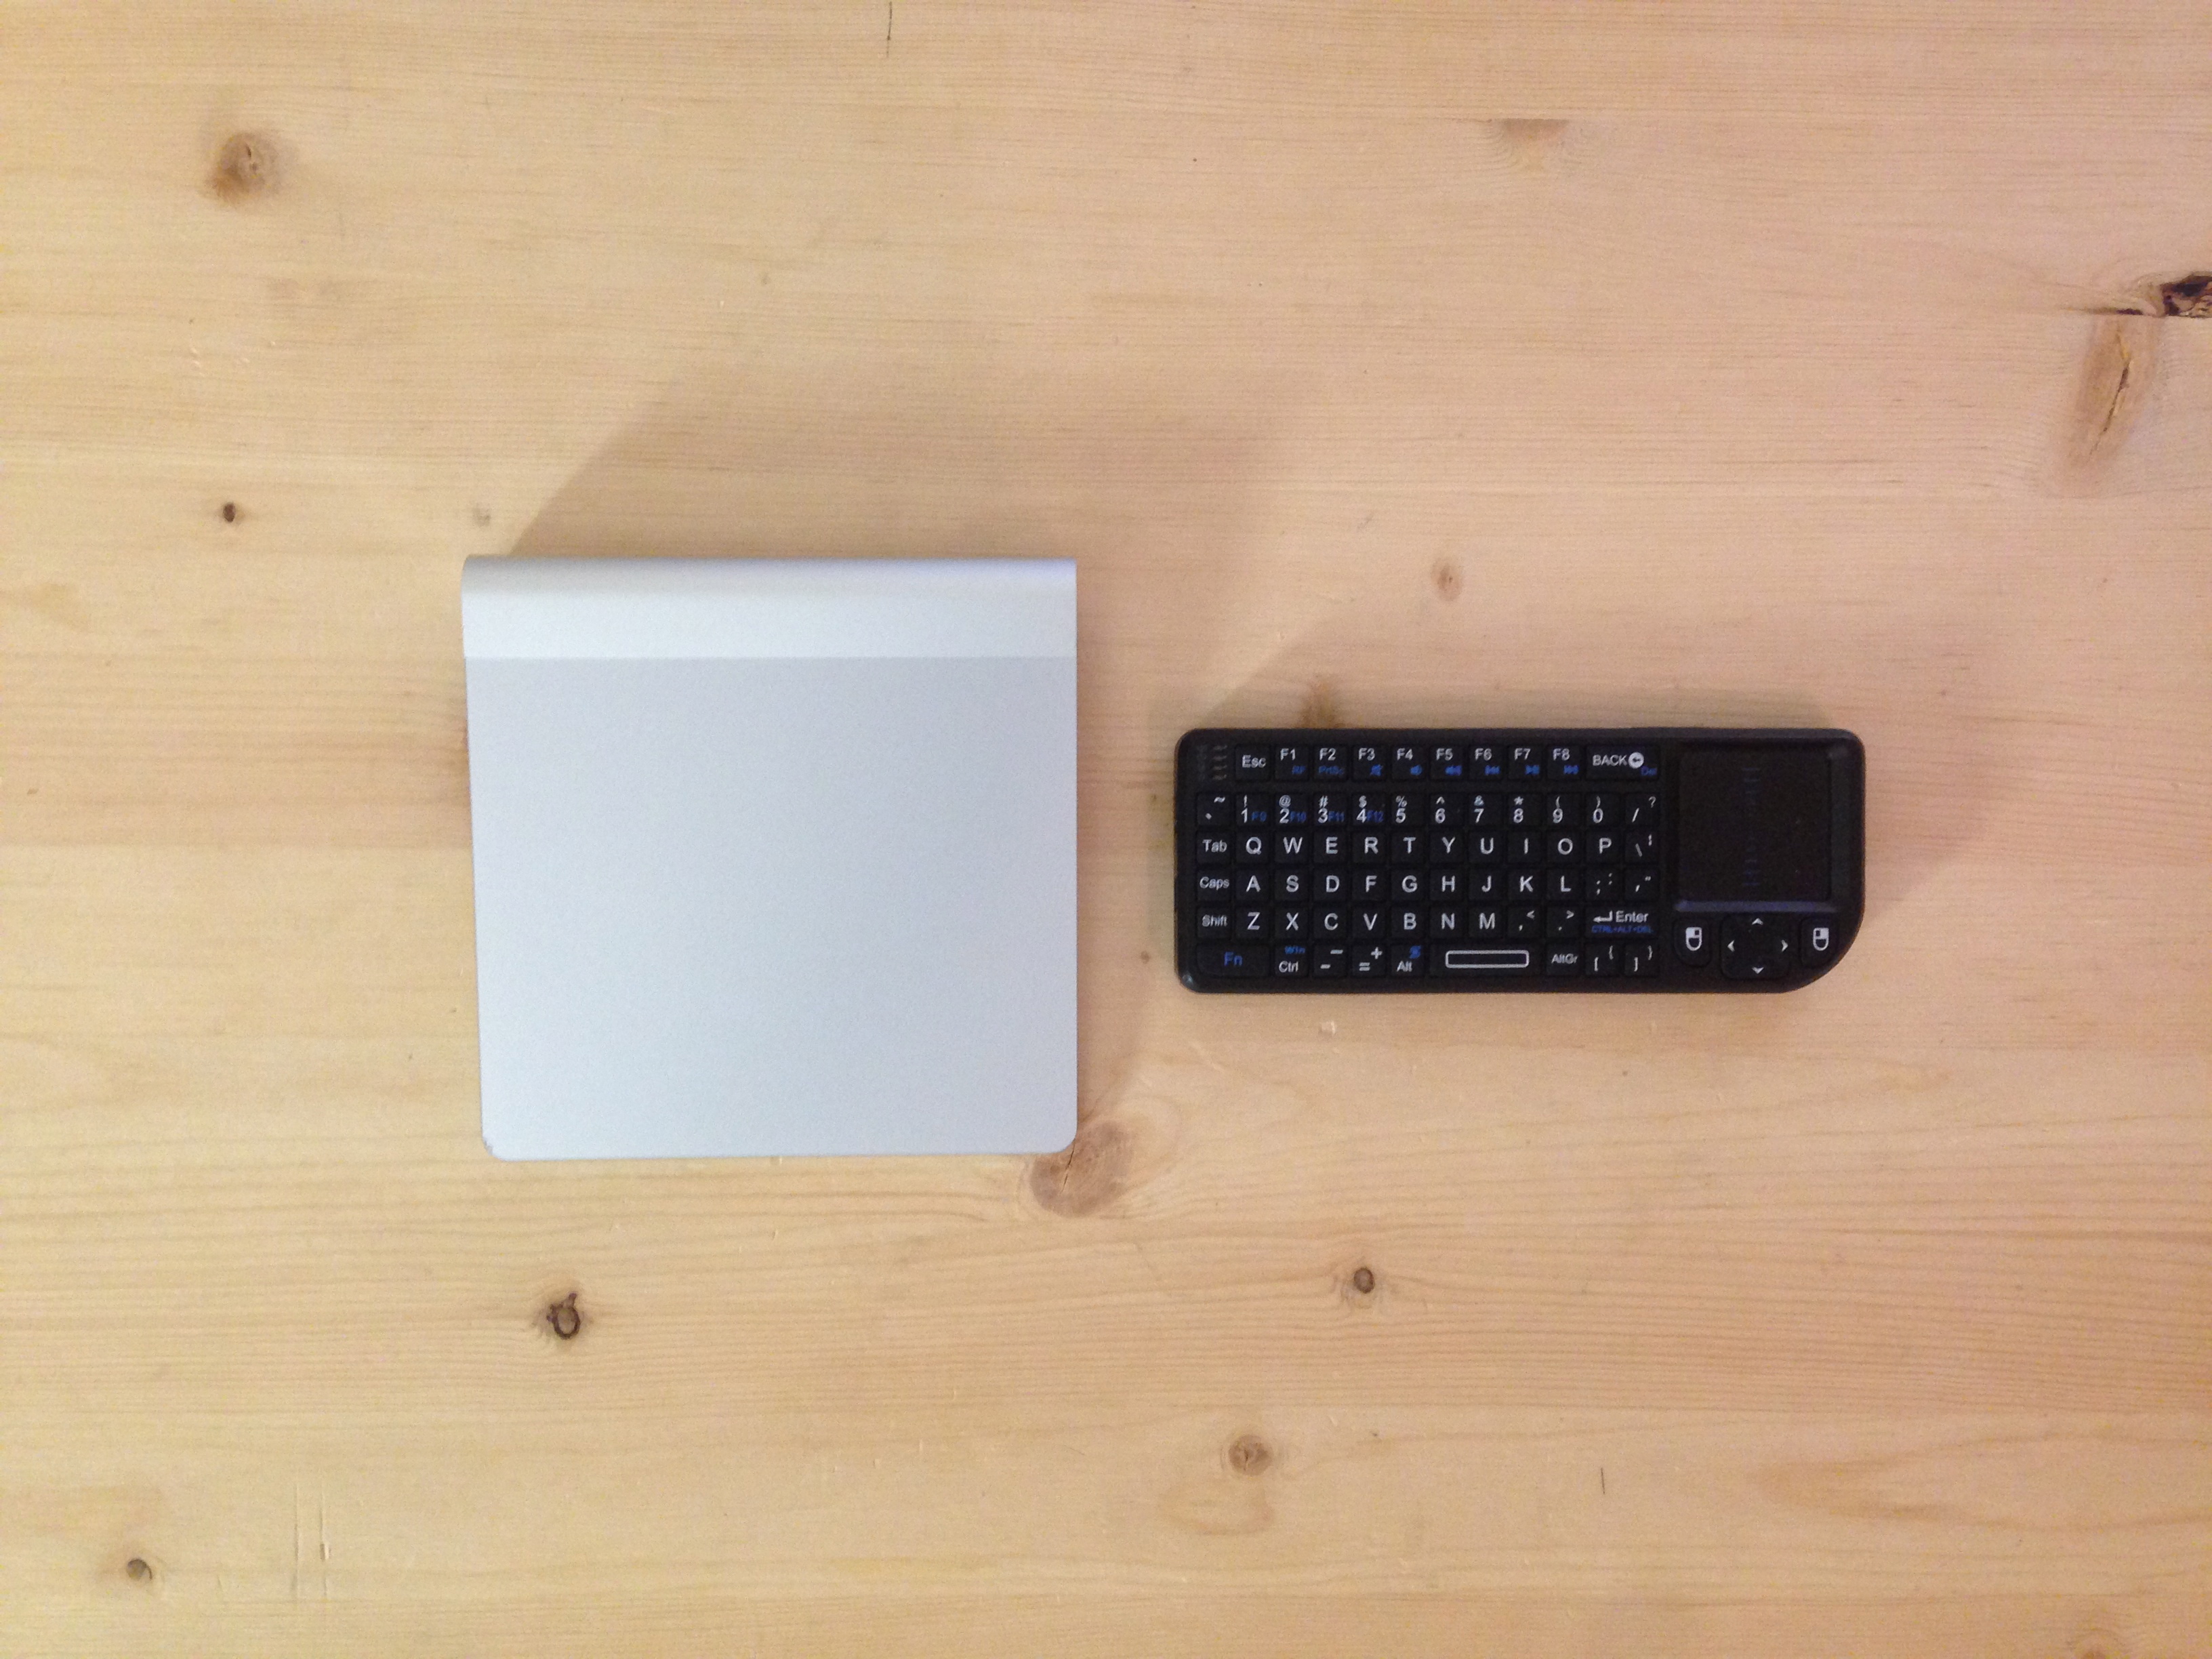
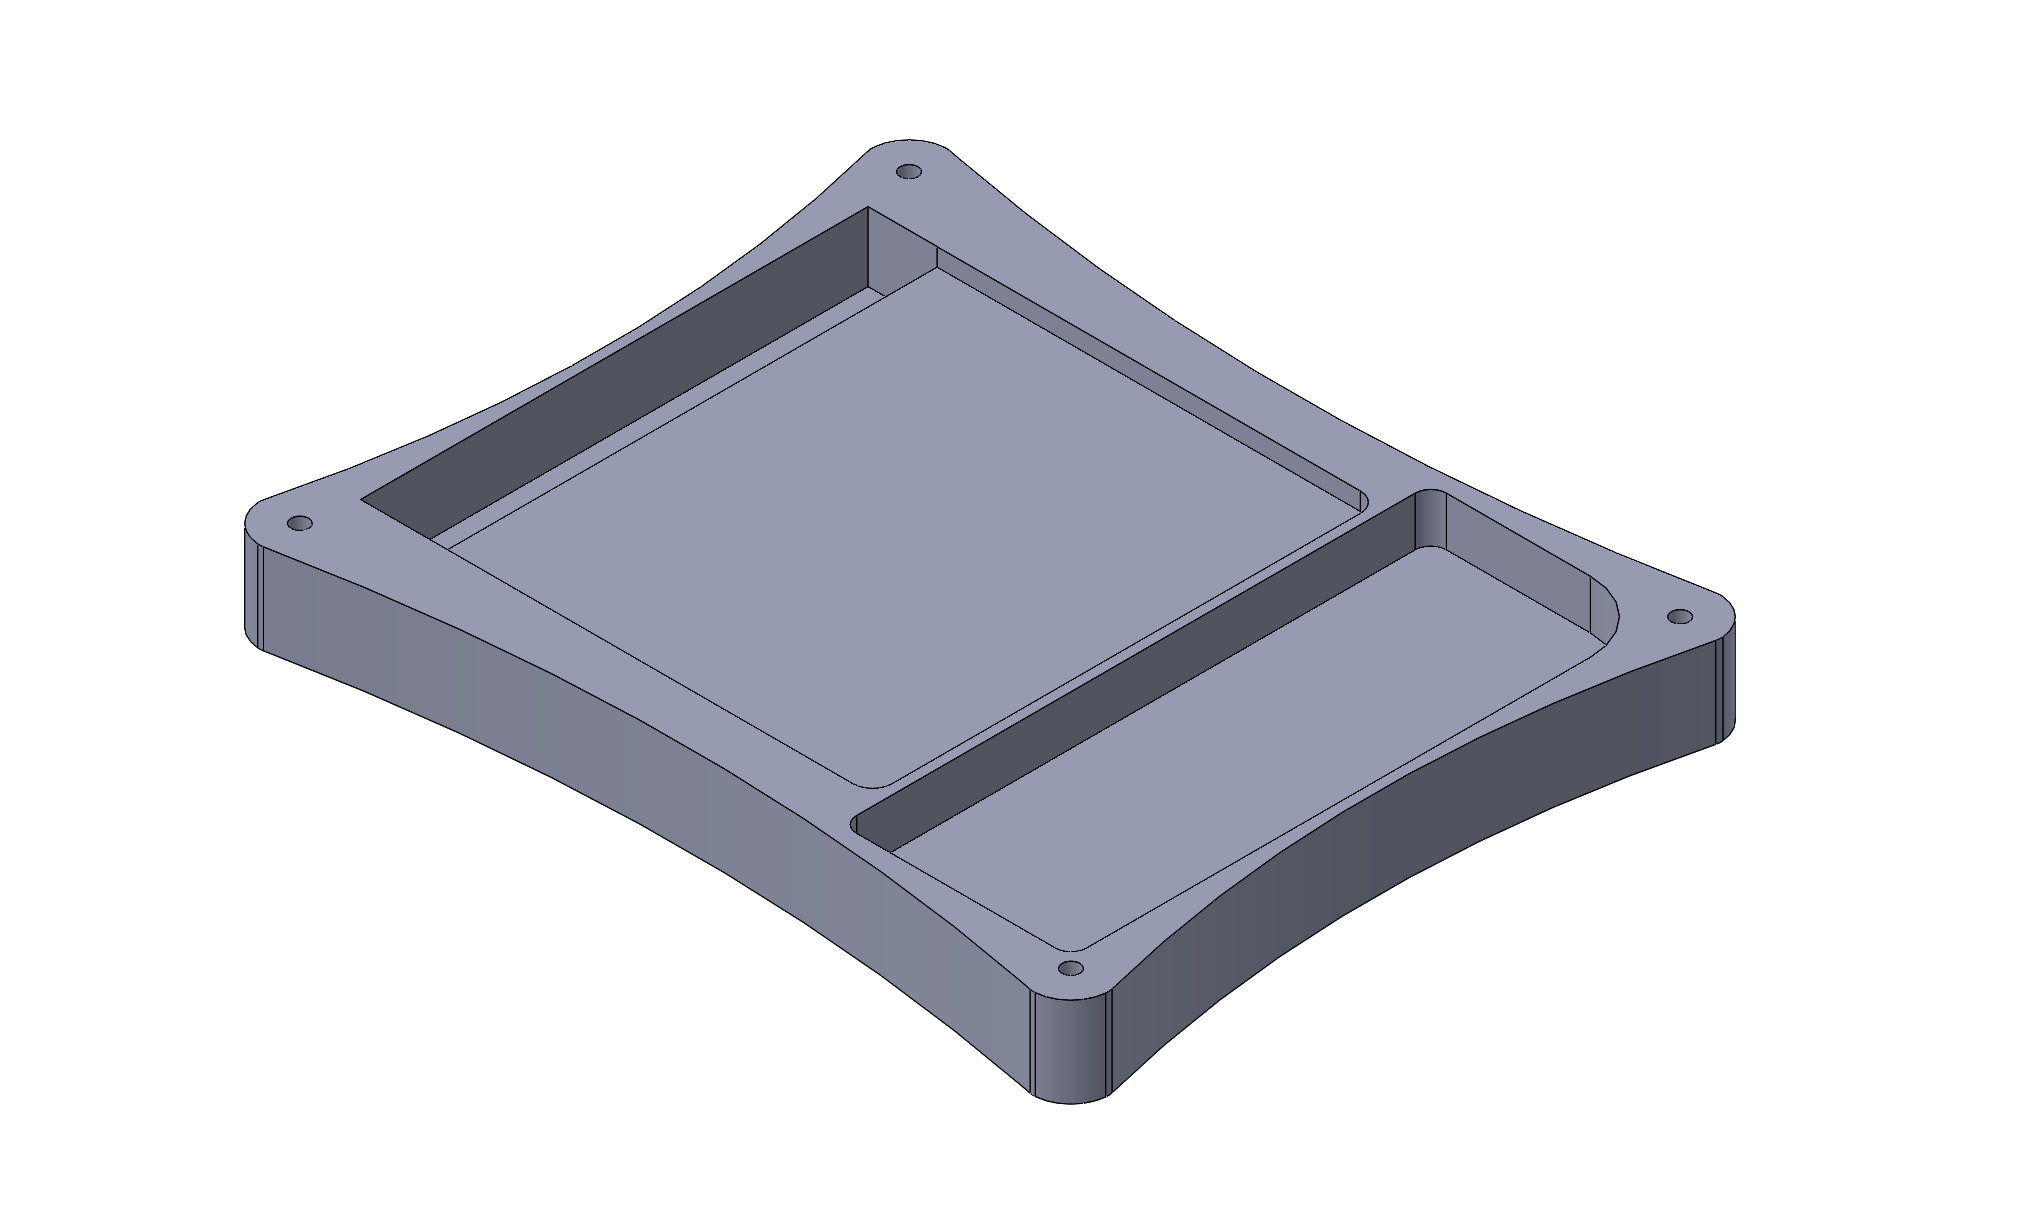
I’ve been using an Apple Magic Trackpad for the past few months in tandem with a FAVI mini wireless keyboard to satisfy my remote controlling needs. But why carry two things when you can carry one thing? I’ve been sitting on the idea for an integrated housing for quite some time, and now it was time to act. An hour with the controllers, calipers, a notebook, and SolidWorks, and the piece was ready to be cut.
BUILD
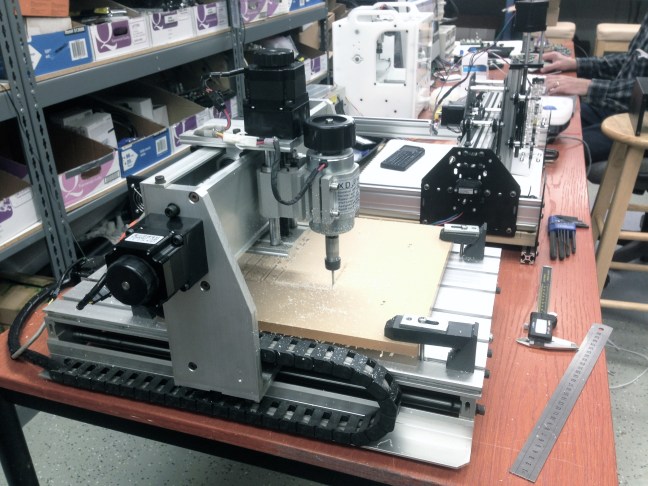
The timing coincided quite nicely with a new arrival to the basement—a “new” Chinese 3020 CNC router. The project started with the assembly of the machine, a pretty smooth and largely painless process. A benefit of the machine’s ubiquity is that the design is well tested and proven. After an electronics hack on the default controller consisting of a full-on gutting of the stock stepper controller circuitboard and replacement with a TinyG v8, and we were up and running.
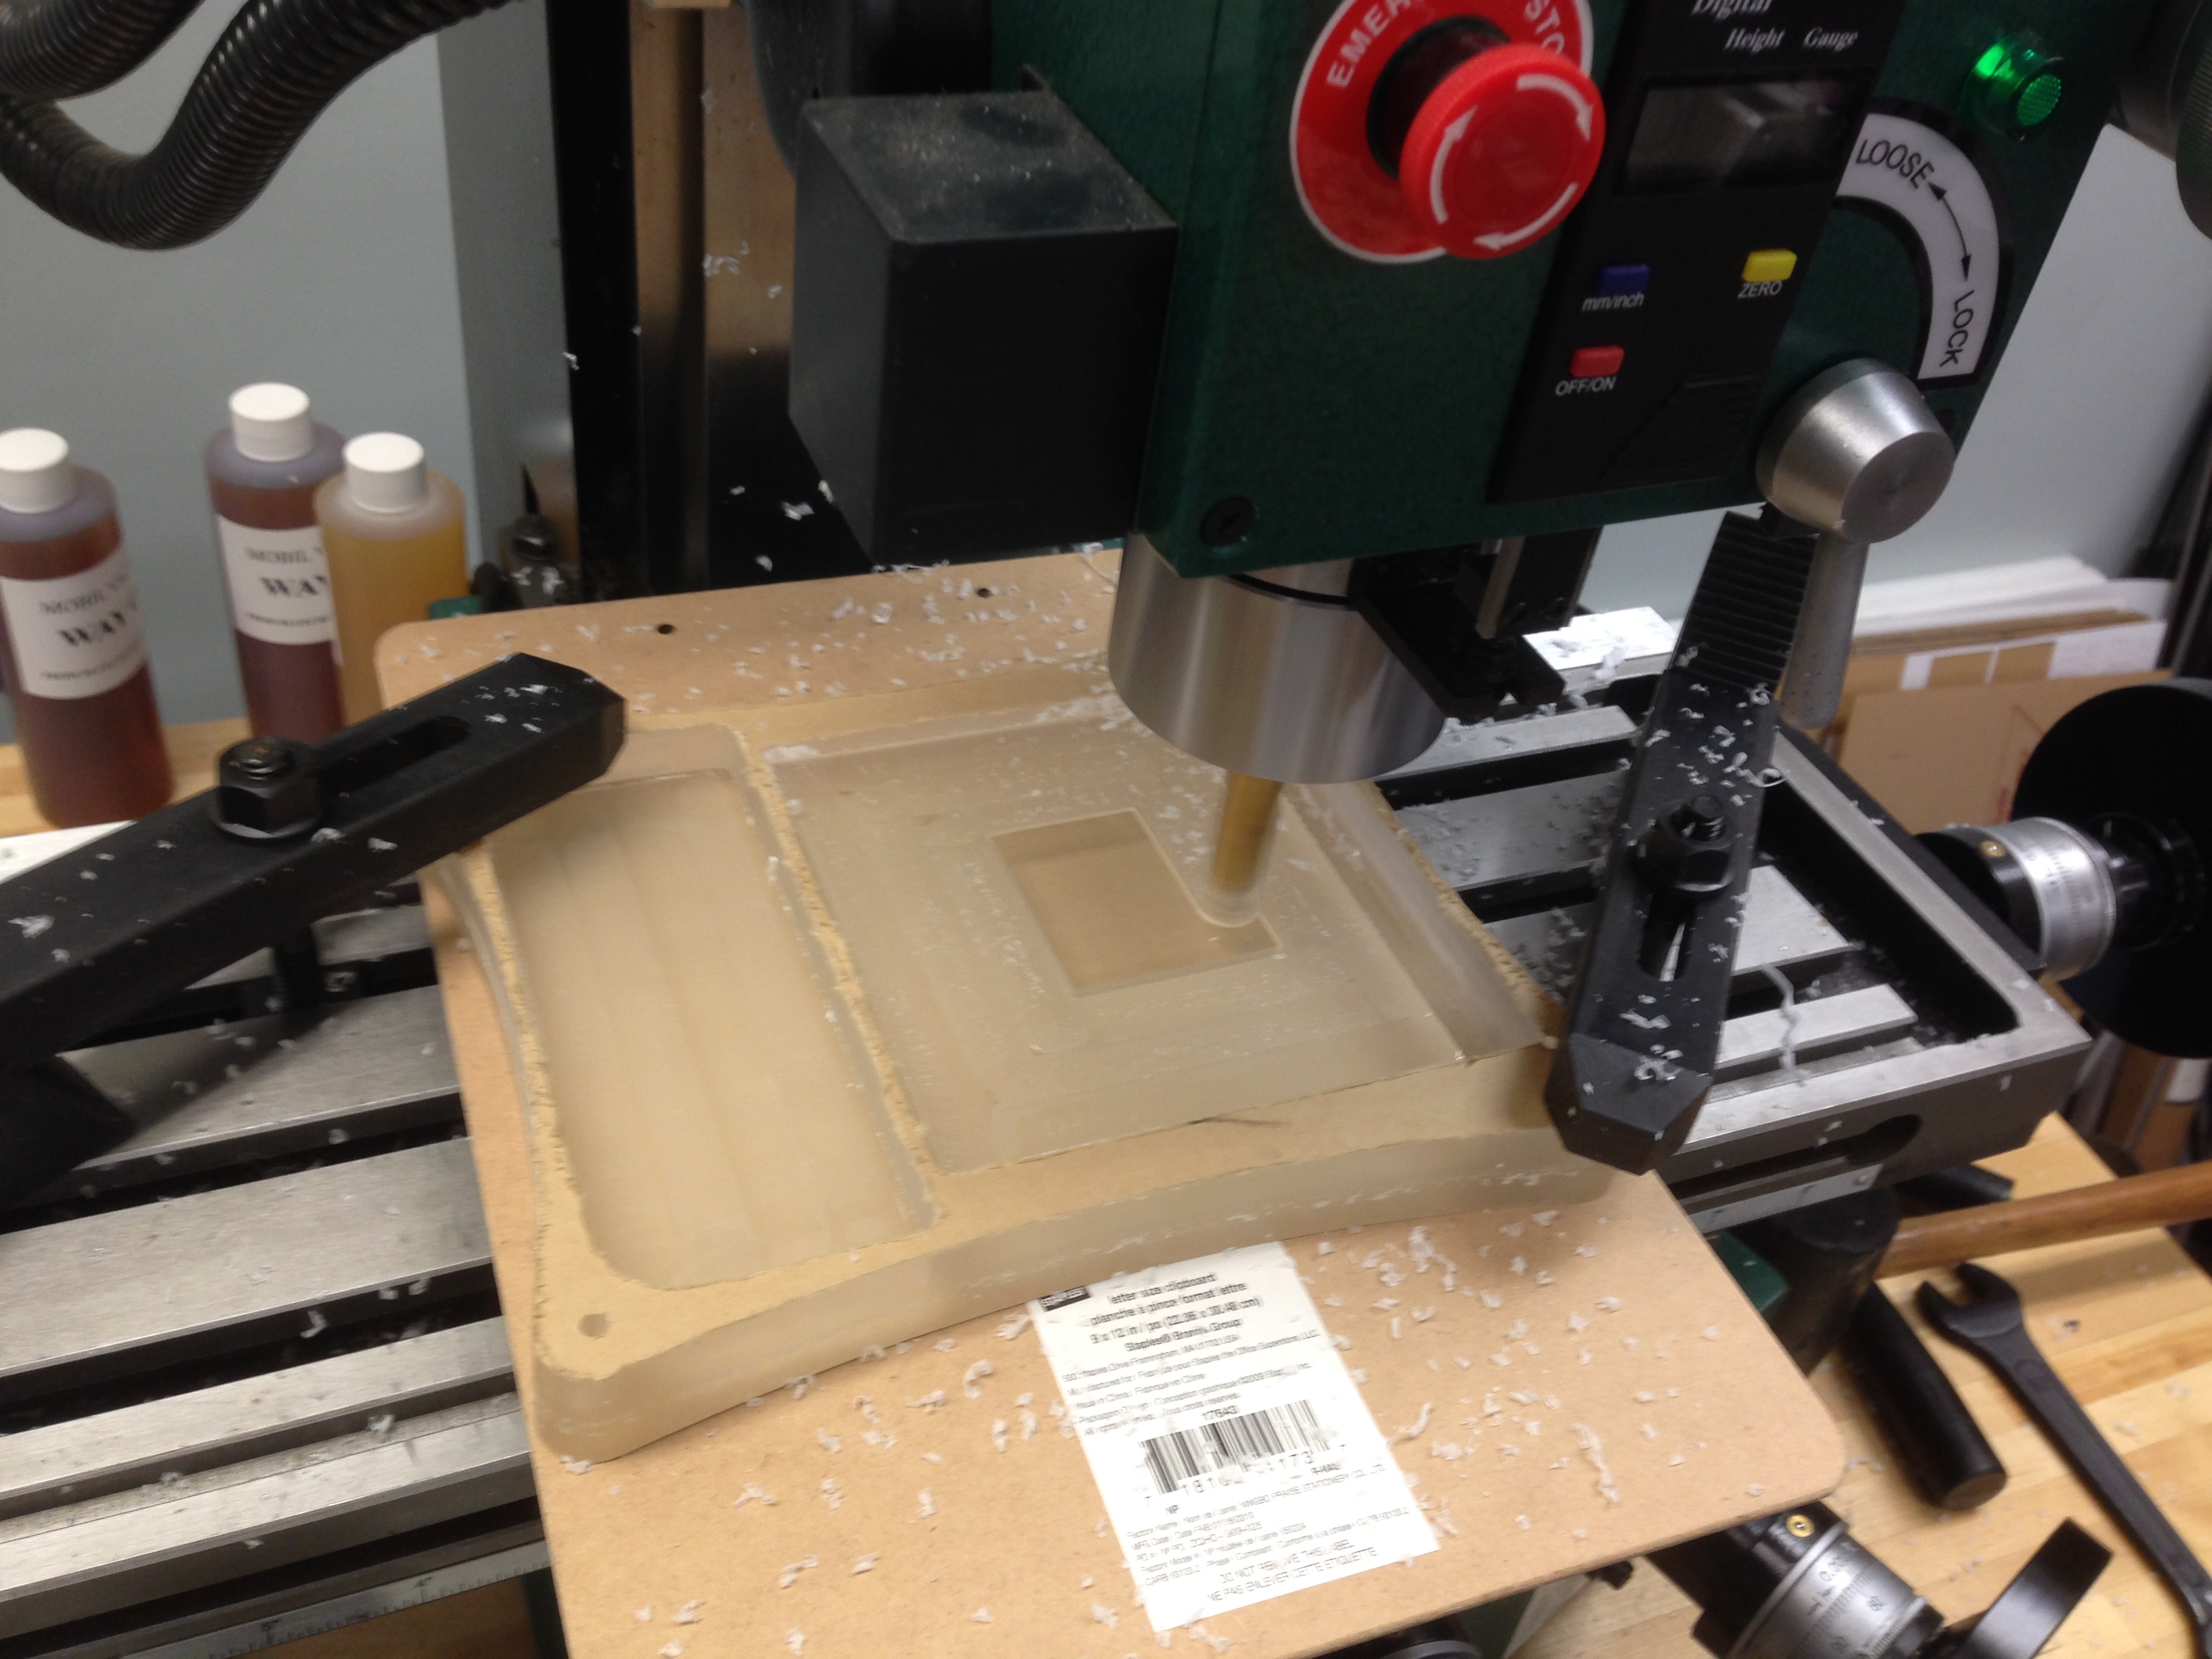
The material of choice for the build was a solid 1″ thick slab of extruded clear acrylic. Wood may have been easier, quicker, and cheaper, but when else am I going to have materials like the acrylic block just lying around? In the end, the cosmetic gain was well worth the extra time and headache around working with unforgiving acrylic.
Vectric Aspire was the CAM program of choice for this project. After countless toolpath iterations and practice cuts on smaller pieces, the settings were finally dialed in and we were ready to roll. The saying “measure twice, cut once” is no less true for CNC machining as it is for manual: the time sunk into the single cut and the expense of the raw materials meant that we had one shot, and one shot only.
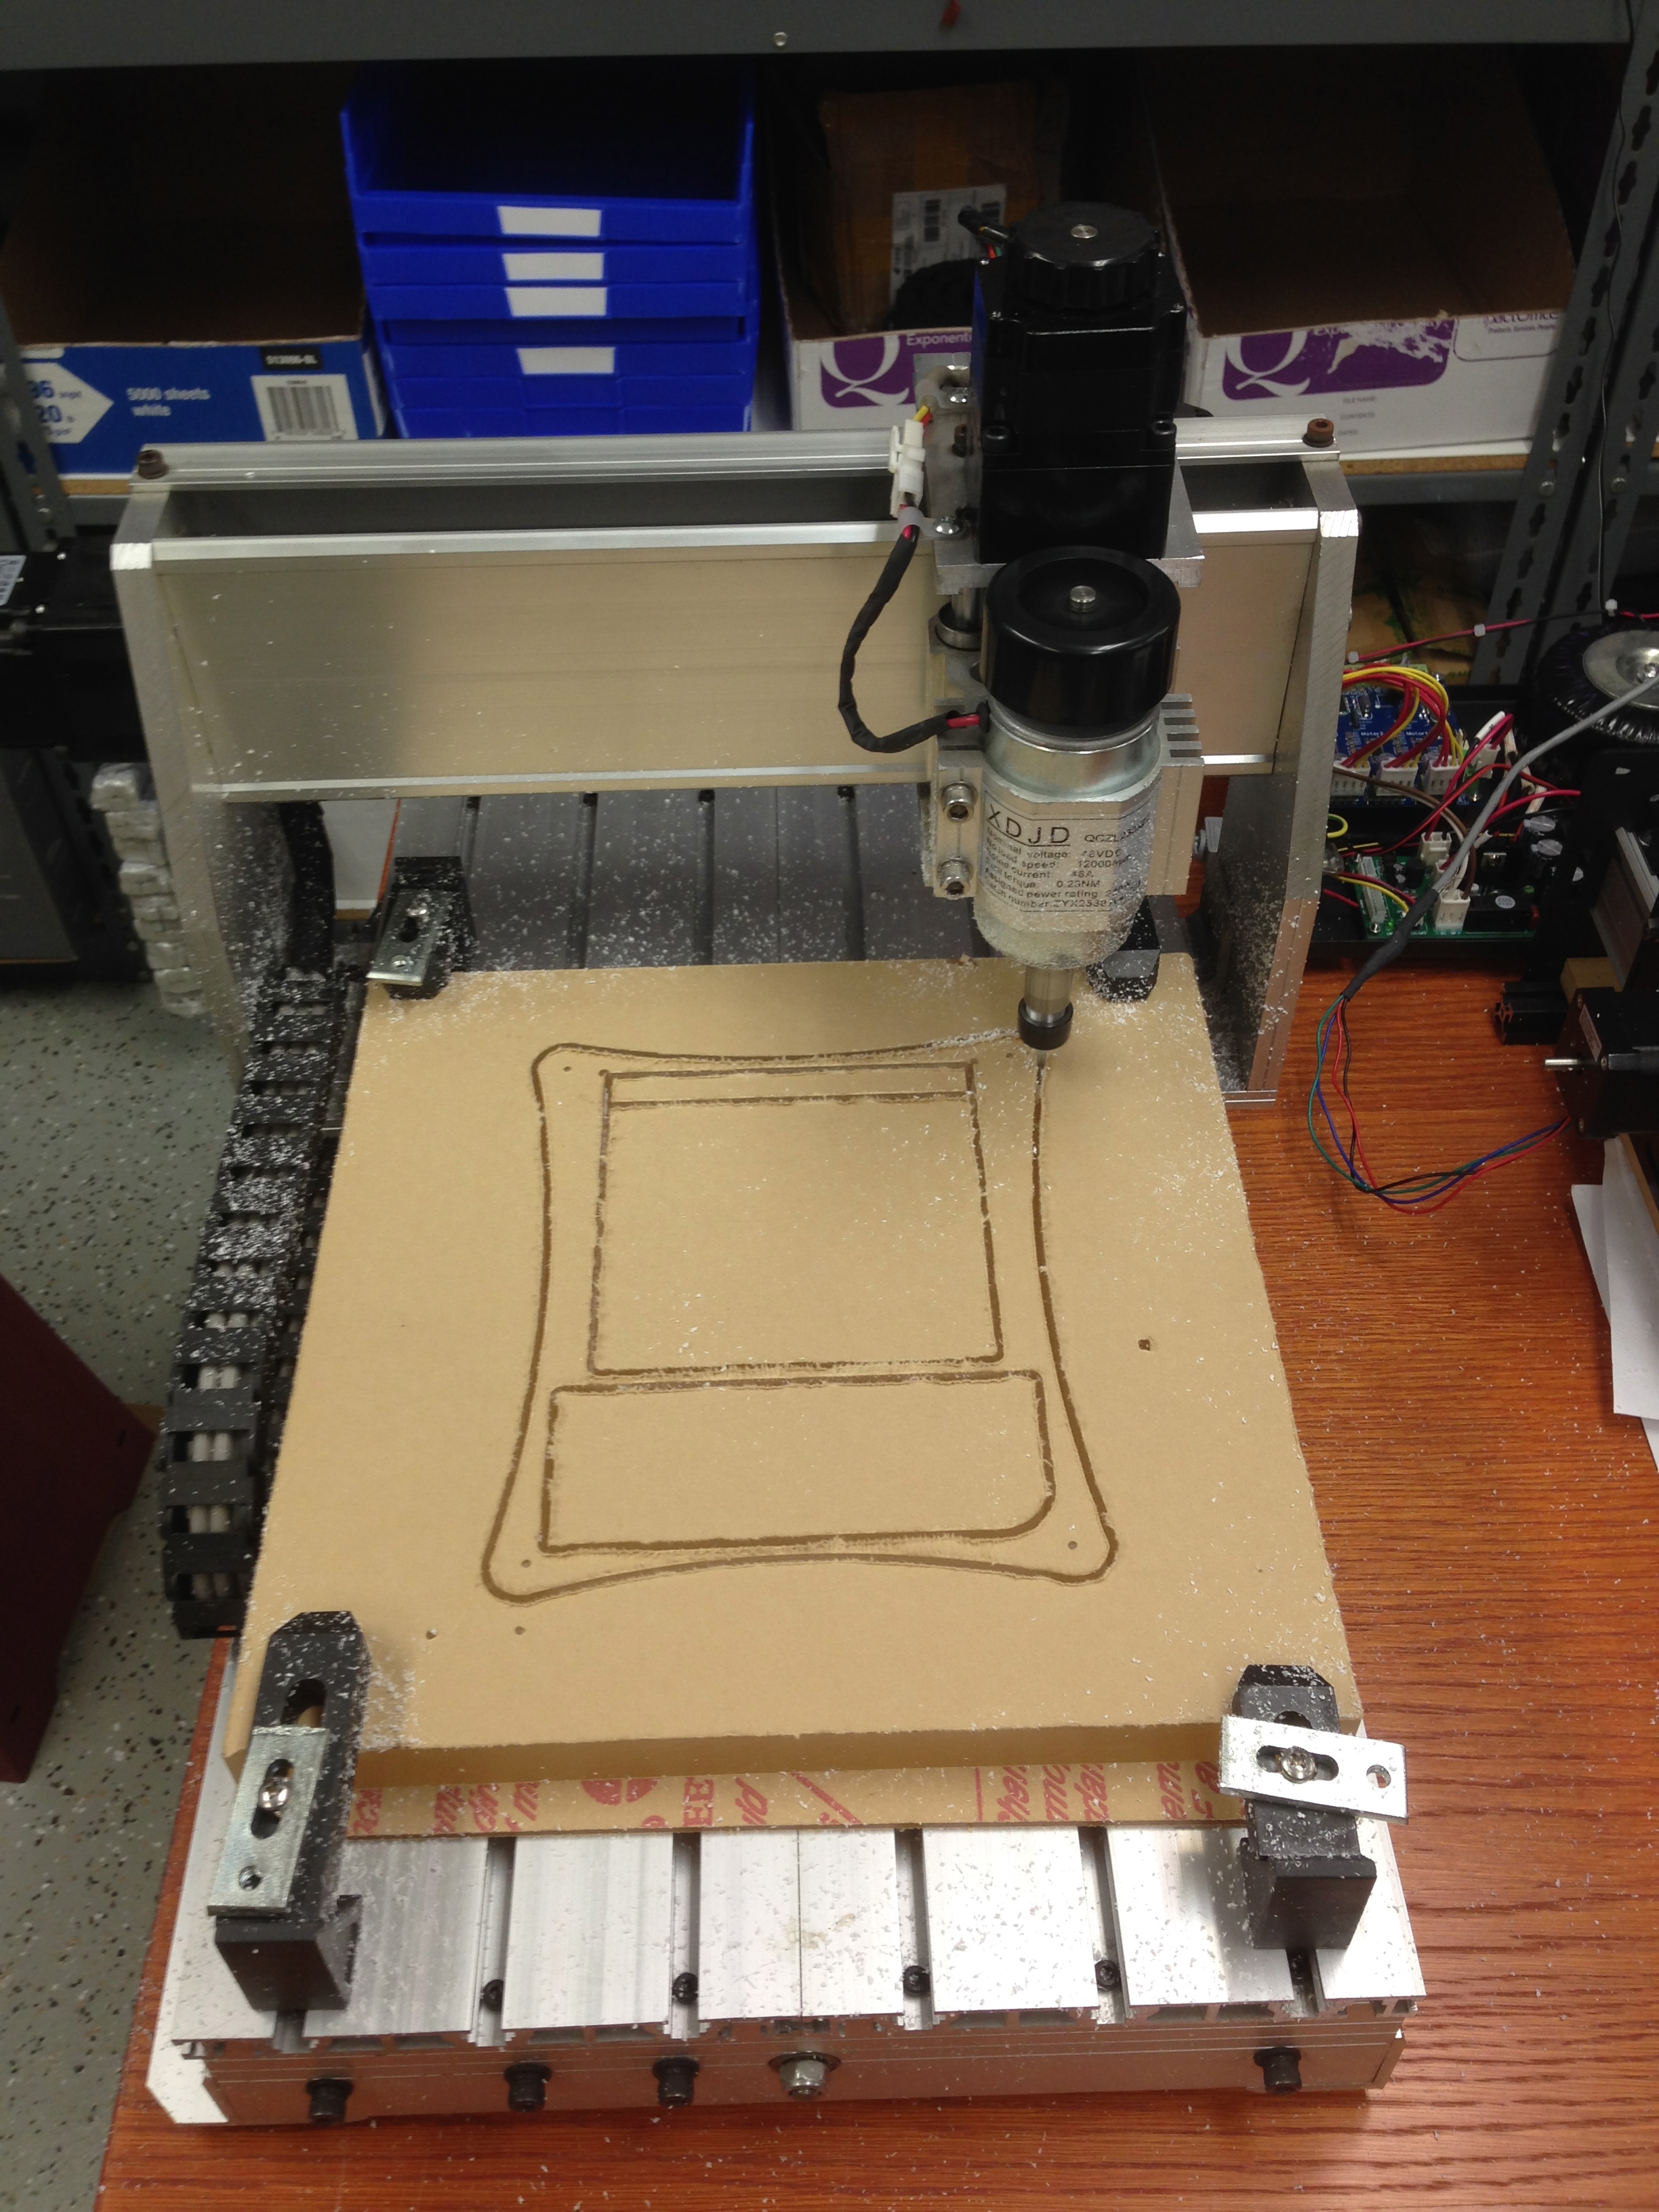
To save time, only the edges of the cuts were CNC’d, the rest would be done with a much larger endmill on a manual machine. Even with this move, the CNC cut was still longer than two hours.


At this point, I thought we were on the home stretch. Oh how wrong I was. In total, I probably spent 8 hours on the manual milling machine gutting out the sections and making small tweaks.
Again, well worth it.
FINAL PRODUCT


There are M5 tapped holes at each corner, because the original intention was to screw on a thin top plate to keep the pieces settled. However, the measurements were so precise and the tolerances so small that the pieces fit just perfectly into their slots. You can see in one of the above pictures that they hold steady even when the controller is upside down. Gotta love CNC! I put screws in anyway, though at this point they’re purely cosmetic.
It’s got a great heft to it—acrylic isn’t that light and there’s plenty of it in the controller. More importantly, it feels solid. There’s no flexing, rattling, or any other noticeable effects when you move it around. I was a bit worried about its durability because in some areas it gets down to only 2.5mm thickness, but it’s a pretty tough material for this application and that shouldn’t pose a problem.
This quick build was a ton of fun, and the controller is being put to good use daily. Thanks for reading!
GH
